Adequate surface preparation is a vital prerequisite for ensuring the quality and longevity of metal coatings. Without proper preparation, even the most advanced metal coating technologies will fail. To turn your first metal paint job into a successful experience, we invite you to check the next five steps to preparing metal for paint.
- Clean the surface. To properly prepare new metal surfaces, use mineral spirits to remove grease and apply a rust-inhibitive primer before painting. For painted surfaces that are in sound condition, remove dust with a clean, dry cloth, de-gloss the surface with light sanding, and wipe with mineral spirits to ensure good adhesion. To remove persistent dirt, wash surfaces with a mild detergent solution or with a commercial product recommended for cleaning painted surfaces.
- Remove loose and peeling paint. If the old paint is in poor condition, you can remove it by hand wire brushing, sanding, or scraping. Since these methods are labor intensive and usually fail to deliver the results expected, many professionals opt for power tool cleaning, which can help remove paint
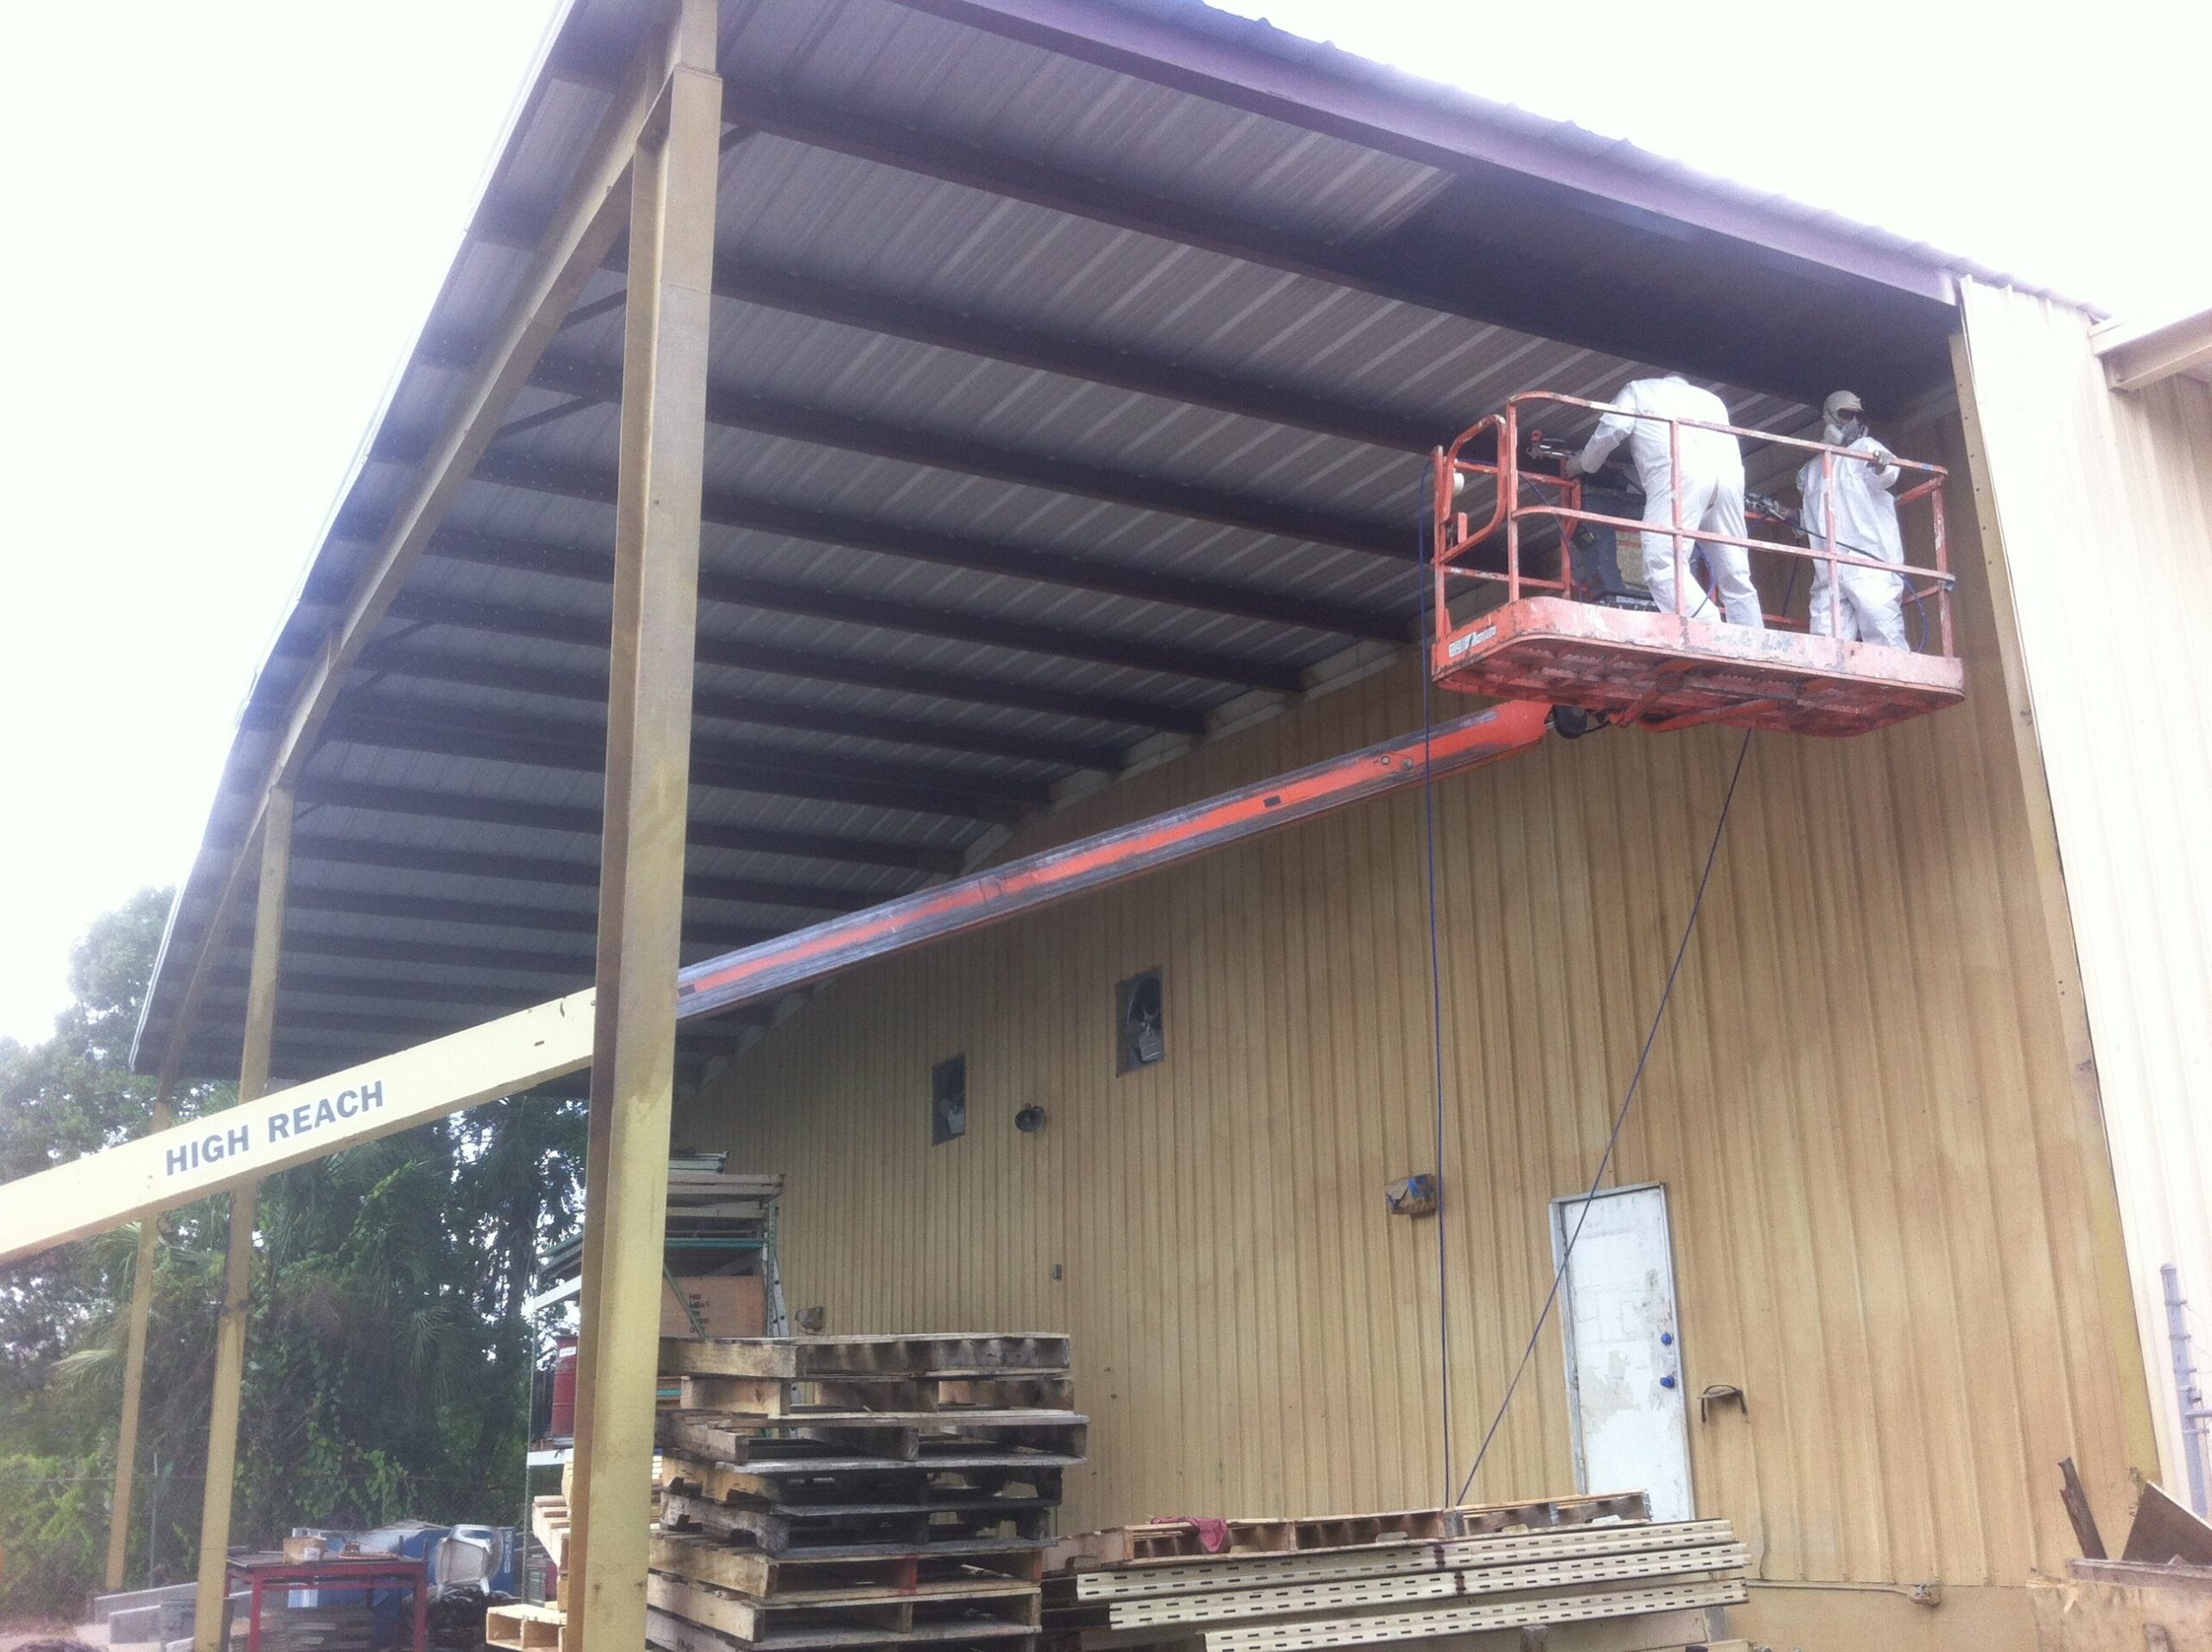 quickly and easily. However, one drawback of using power tools is that they can polish metal surfaces, potentially causing paint-adhesion problems.
- Remove rust. When preparing metal for paint, checking for rust is important to make sure that the paint will adhere properly to the surface. To restore lightly rusted metal surfaces to their original state, use a brush to clean off loose rust, sand the area, and apply a high-quality rust-inhibitive primer (e.g. Rust-Oleum Rust Reformer). Also known as rust converters, rust-inhibitive primers can be used to cover rusted spots and turn them into non-rusting, paintable surfaces.
- Repair small holes and dents. To repair holes and dents, sand the area until you reach bare metal and wipe with a degreaser mixed with mineral spirits. For small holes and dents, inject an appropriate epoxy-based composite directly into the hole and/or dent. For larger holes, apply epoxy filler to the edge of the hole, cut a piece of fiberglass mesh approximately one inch larger than the hole, and press it into the filler. Then, cover the mesh with epoxy, working your way from the edge toward the center of the hole.
- Prime the surface. Priming is a very important step in preparing metal for paint, especially if the surface will be exposed to moisture. To select the right primer, the type of metal to be coated along with the desired appearance, performance requirements, and environmental conditions should be considered. To begin with, water-based (latex) primers shouldn’t be used on metal surfaces, as moisture can seep through and cause paint to fail within weeks or months. Professionals recommend two types of metal primers: the rust converters mentioned above and galvanized metal primers. While a rust converter is ideal for preventing rust from recurring and making a rusted surface easier to paint, a galvanized primer is appropriate for metals (e.g. aluminum) that prevent paint from adhering to the surface. You can also find iron oxide and zinc chromate primers, which can be used on most metal surfaces, including interior and exterior iron and steel.
Priming immediately after cleaning the surface is imperative to prevent dust or dirt from accumulating and flash rust (rust that occurs within hours) from forming.
At Performance Painting, we’re proficient in various painting systems and techniques, which allow us to complete a variety of interior and exterior projects according to individual specifications. Contact our friendly staff today at (904) 641-4800 for competent and comprehensive advice or for a free estimate.

